
Sign up a free account
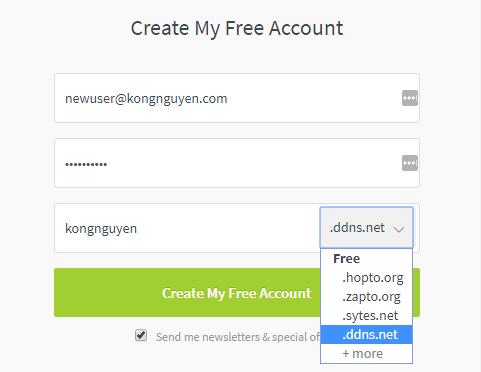
- Go to No-IP website sign up link: https://www.noip.com/sign-up.
- Enter your email and password in box 1 and 2.
- Select a name for your Dynamic DNS and enter in box 3.
- Click on Create My Free Account and you will see the “thank you” page from No-IP website. (You will be also received an email from No-IP to activate the account)
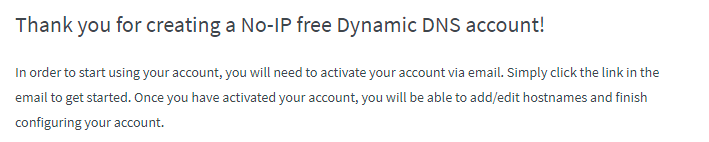
Confirm and activate your No-IP free account
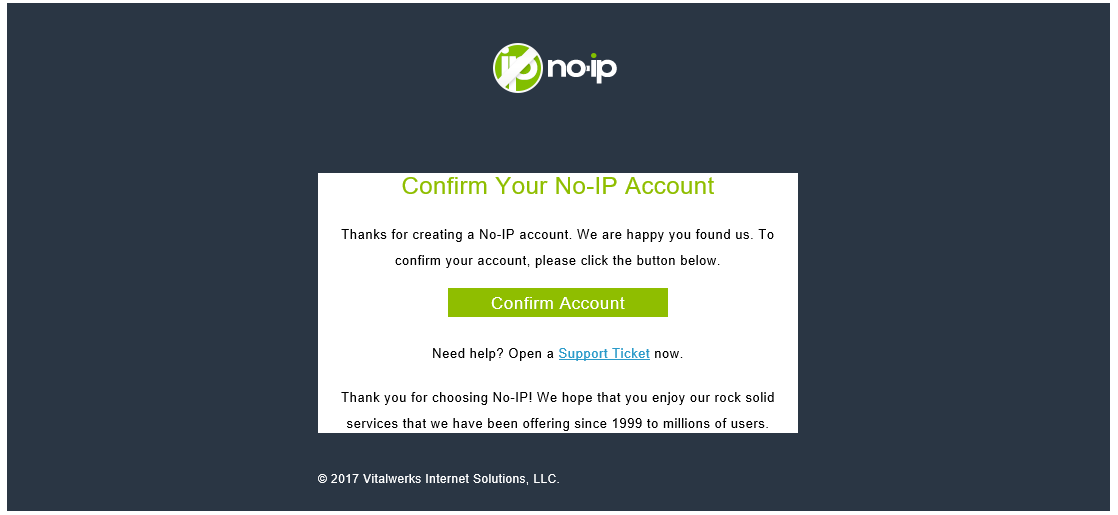
- Now is time to open your email and check an email which was sent from No-IP Notices with subject Confirm Your No-IP Account.
- Click on the Confirm Account link and it will open up the activation confirmation web page. Now you have done with a free Dynamic DNS account with No-IP. Next step is setting up your Dynamic DNS.
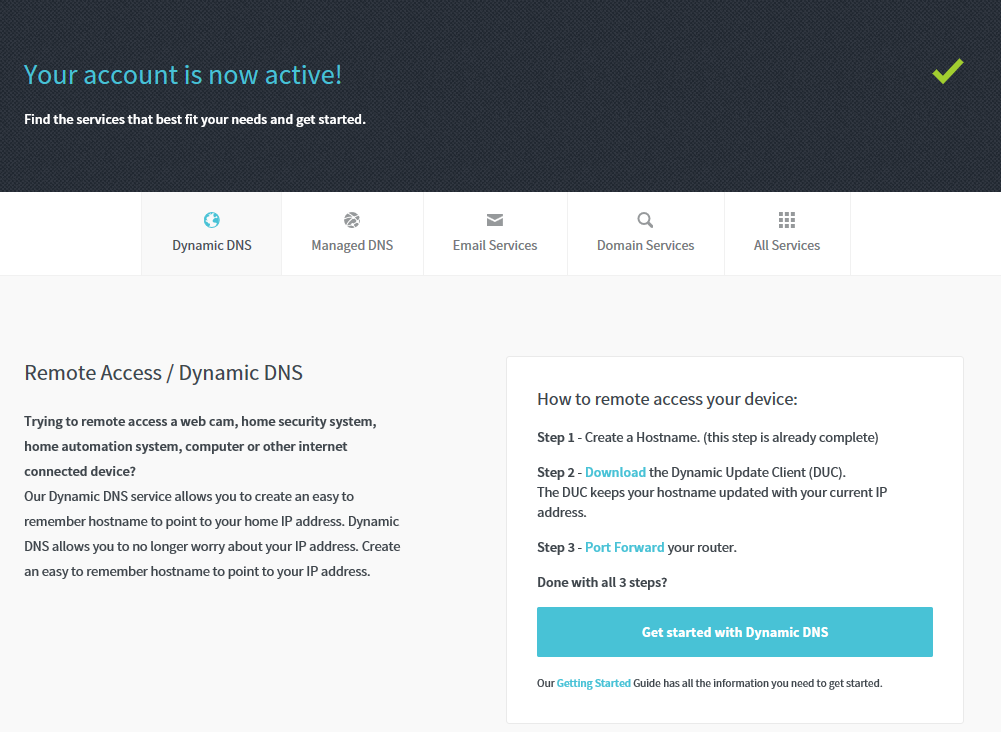
View Your Result
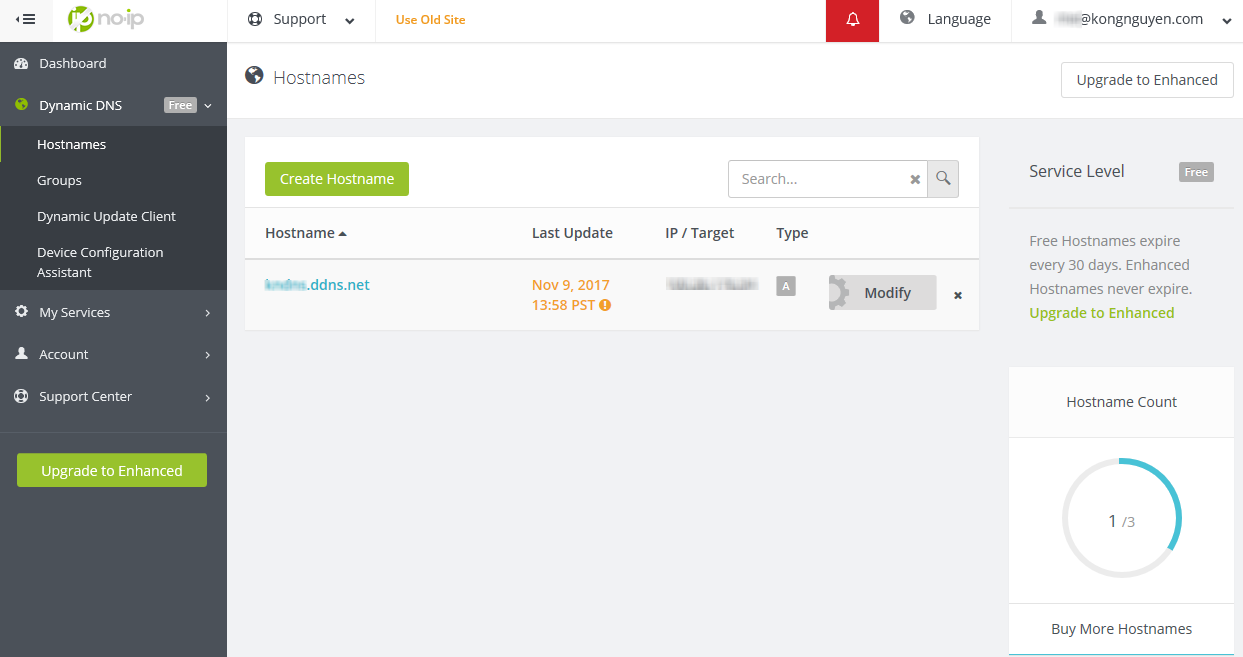
- From your Dashboard account page (https://my.noip.com/), click on Dynamic DNS link under Dashboard link.
- You will see your Dynamic DNS record displays in the main section.
“You can how to create Dynamic DNS with Google here“
Next Step
I will show you how to setup your home network to remote in or build up your home web server and public to internet.
Related Articles
- Create a Dynamic DNS with Google
- Common Ports and Their Associated Protocols in Networking
- Useful Tools for Security and Networking
- Install and Enable Telnet in Windows 10
Discover more from SharePoint Monkey
Subscribe to get the latest posts sent to your email.

